What is WordPress and how to install it using the WAMP server on the localhost or window?
We are going to learn about WordPress and how to install WordPress on localhost or window using a WAMP server. WordPress is one of the greatest, modest, and open source Content Management Systems (CMS) that is used by millions of bloggers and developers. Roundabout more than 33% of the top ten million websites run on WordPress.
WordPress has unlimited features and wide-ranging support for developers and bloggers. You can download and set up the software on your computer Remember, only you or your local network (if setup) will be able to view this site.
In this tutorial, I am going to show you a step by step process to set up WAMP and install WordPress on Windows.
What is WAMP Server?
WAMP stands for Windows, Apache, MySQL, and PHP. WAMP Server is a Windows hosting and web development environment. It allows you to create web applications with Apache, PHP, and a MySQL database. WAMP server also includes phpMyAdmin which allows you to easily manage your databases.
How to install the WAMP server?
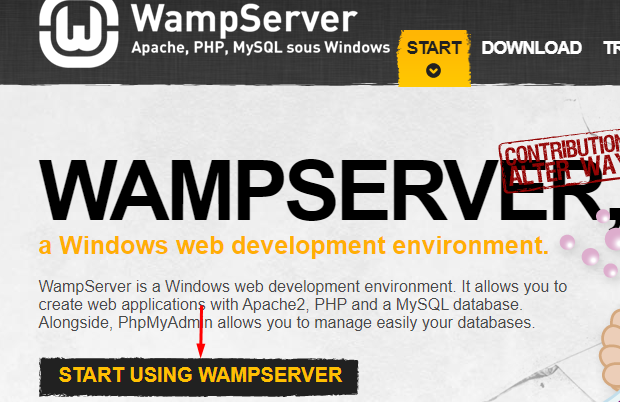
First of all, you need to download the WAMP software and install it on your computer. Simply go to the WampServer website and click on the (Start Using WampServer) button.
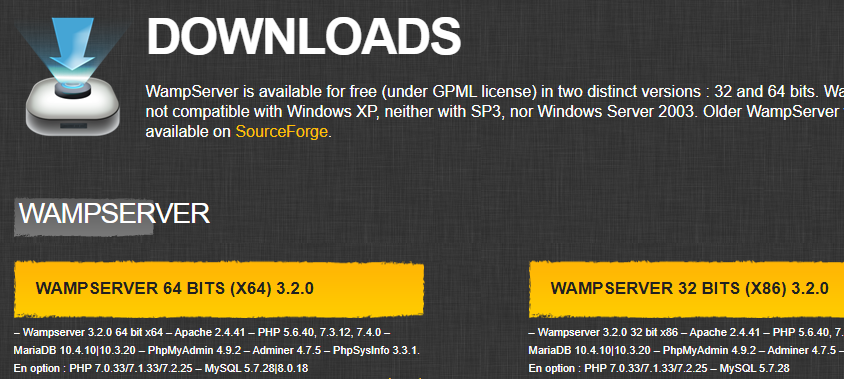
After clicking the button it will take you to the download section. Here you need to download the WAMP version that matches your window operating system in your computer 64 Bit or 32 Bit.
After downloading the WAMP server go to your download folder and find the WAMP Server installation file. Double click on the file to start the installation process. The WAMP Server setup wizard will guide you through the installation.
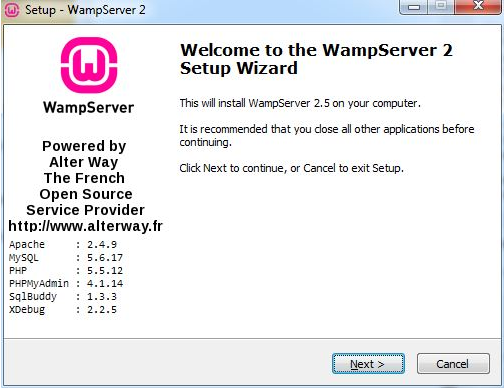
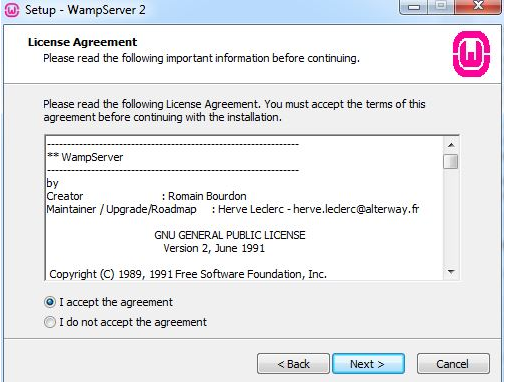
After clicking on the next button a new window will ask you to agree with the software’s terms and conditions. Check (I accept the agreement) and click Next.
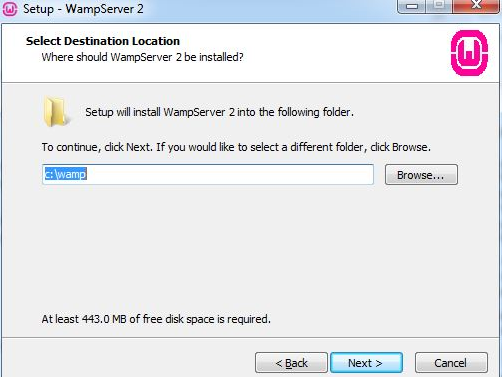
After clicking on the Next button you need to select the destination where you want to install the WAMP server. We are going to choose C:/wamp.
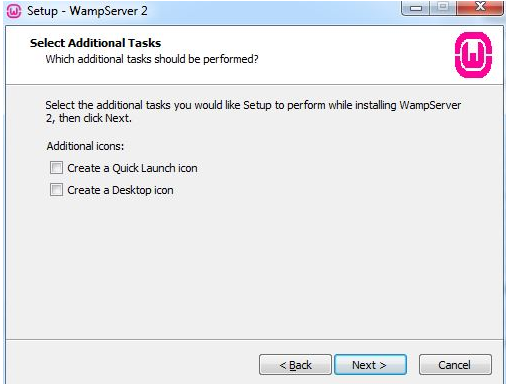
After clicking on the Next button you need to check the box if you want to create an icon of the WAMP server on a desktop to launch it quickly.
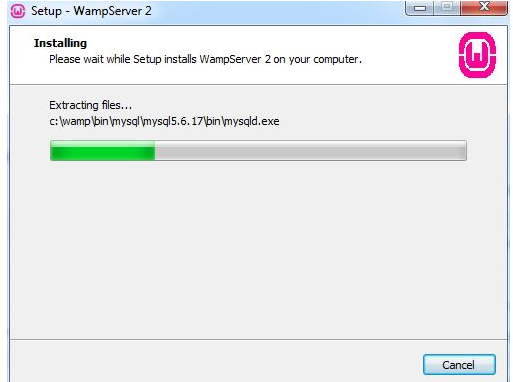
After clicking the next button the WAMP starts the installation.
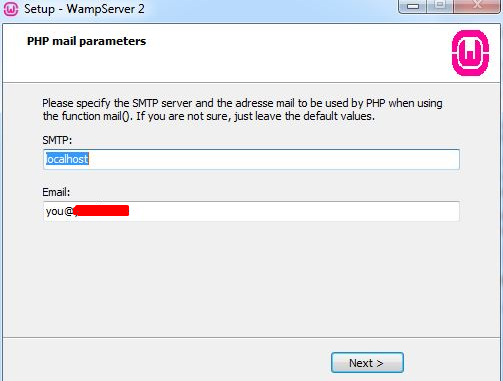
After installation, you need to add SMTP and email, etc and click Next.
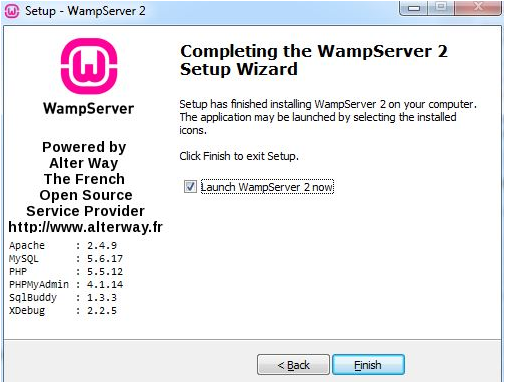
Installation is complete and click on the finish button.
After the installation has finished you will need to look at your taskbar for a Green Wamp Server icon. If it is green then everything is good. Green Wamp Server icon means your servers are running. If the icon is orange or red there is a problem with Apache or MySQL. You will need to fix these problems before you can move on by restarting the Apache and MySQL by clicking on the Wamp server icon.
How to install WordPress on Windows?
Now we are going to install WordPress please follow the steps below to install the WordPress on your localhost or window operating system.
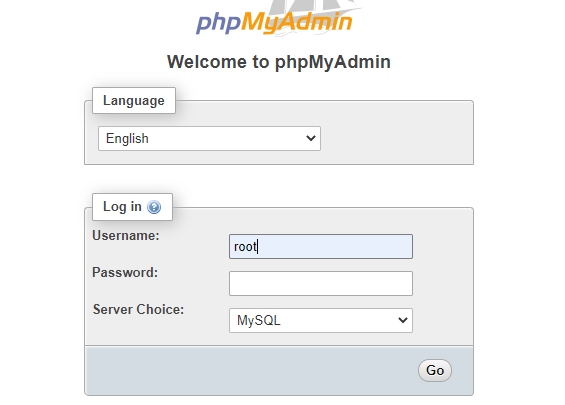
First, we need to create a database just click on the wamp server icon then click on the PHPMyAdmin or type in google search bar localhost/PHPMyAdmin the below screen will be open type (root) in the username and leave password fields empty and select server choice (MySQL) and click on go button.
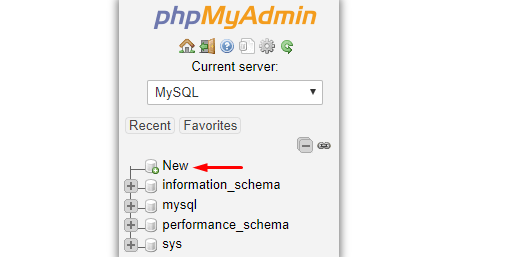
Now click on new to create a database as shown in the below image.
After clicking the new button a new page will be open. Type database name in it. We create a database with the name of (WordPress). after entering the database name in this field click on the create button.

Download and install WordPress.
After creating the database in the localhost now we need to download the latest version of WordPress. You can download it from here. https://wordpress.org/download/.
After clicking on this link it will download as a zip file. Go to your download folder and Extract the wordpress.zip file. Copy the extracted WordPress folder.
- Now open the C: directory and open wamp64/wamp32 folder and find www folder.
- Open the www folder and paste the copied WordPress folder here.

Now Open localhost/WordPress on your web browser and choose the language for your WordPress installation. Click on the (continue) button.
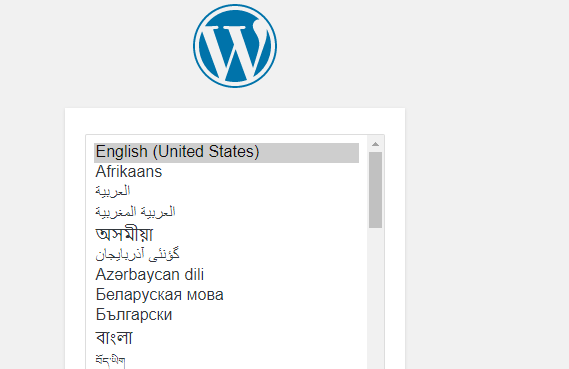
After clicking on the continue button a new page (information needed) will be open enter your details in it and click on (install WordPress) button.
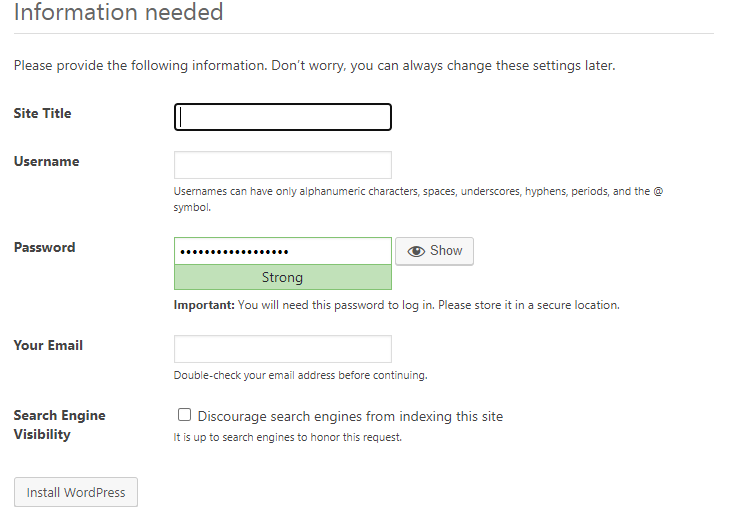
After entering the information and clicking on the (install WordPress) button you received a success message of installing WordPress with username, password, and a login button.
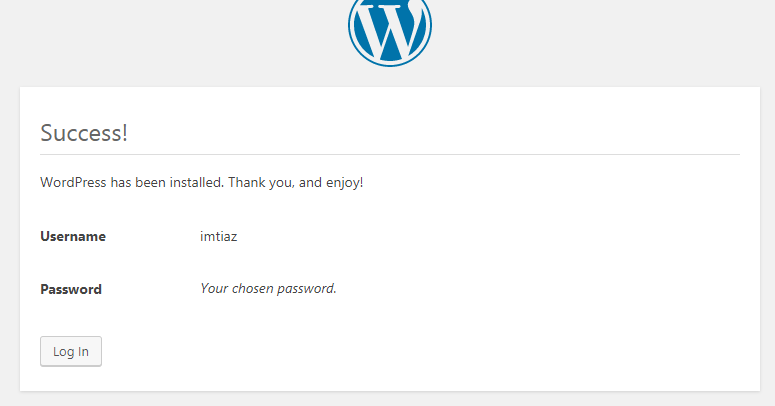
Now click on the login button or type localhost/wordpress/wp-login.php in your browser you will be redirected to WordPress login page enter the username and password in the fields and click on login button.
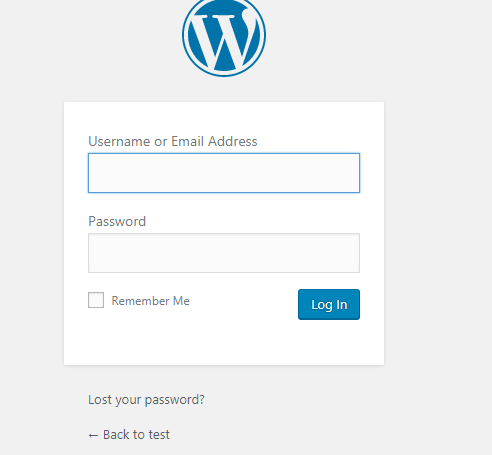
After entering the login details you will be redirected to your dashboard now you can customize your website's themes and plugins.
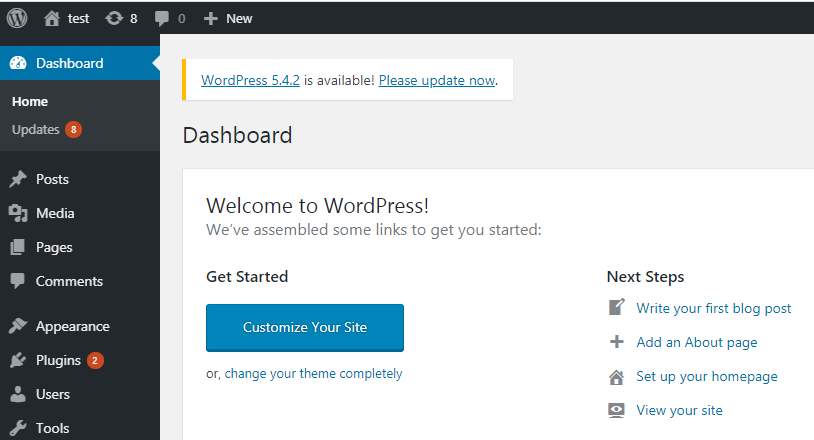
Congratulation, you have successfully installed WordPress on your local server using WAMP. Now, you can start testing new plugins and themes.
Other related post.
How to install WordPress using Cpanel.
Summary for installing the WAMP server and WordPress.
This local setup is going to help you discover more about WordPress, its plugins, and themes. You can also create an offline website.
Using WAMP server is the easiest way to do so. While we have the alternative still it's better to choose.
If you still face any problem, you can find us and contact us on https://uvisionpk.com/#contatus
Hopefully, you found this tutorial to be useful! Please share your thoughts and queries in the contact section.